Cupping isn’t just an exclusive practice reserved for coffee professionals, Q-graders, or roasters—it’s an engaging, hands-on way for anyone to explore and appreciate the rich complexity of coffee. Whether you’re a casual coffee drinker looking to better understand what’s in your cup or a serious enthusiast eager to refine your palate, learning to cup coffee at home opens up a whole new dimension of sensory discovery. Through cupping, you can uncover subtle aromas, nuanced flavors, and unique characteristics that are often missed during regular brewing. It also empowers you to make more informed decisions when buying beans and helps you tailor your brewing methods for the best possible results.
In this comprehensive guide, we’ll walk you through everything you need to know to get started with cupping at home, including:
-
What coffee cupping is and why it plays such a crucial role in the coffee world
-
How to prepare your space and gather the right tools for a successful cupping session
-
A detailed, step-by-step walkthrough of the cupping process so you can evaluate coffee like a pro
-
Practical tips and techniques to develop and sharpen your tasting skills over time
-
An introduction to common flavor notes and descriptors to help you better articulate what you’re experiencing
By the time you finish this guide, you’ll have the confidence and knowledge to taste coffee with greater awareness and appreciation—transforming every cup from a simple drink into an immersive, sensory journey right in your own kitchen.
What Is Coffee Cupping?
Coffee cupping is a precise, standardized method used by professionals worldwide to evaluate the sensory characteristics of coffee. This process involves smelling, tasting, and scoring coffee to assess its aroma, flavor complexity, acidity, body, sweetness, balance, and aftertaste. It’s a vital tool in the coffee industry for quality control, green coffee buying decisions, and roast profiling.
For home coffee enthusiasts, cupping offers an excellent opportunity to deepen your appreciation and understanding of coffee. It allows you to:
-
Compare coffees from different origins, varietals, and roast levels side by side.
-
Identify which flavor profiles resonate most with your palate.
-
Sharpen your ability to articulate tasting notes and subtle differences in coffee.
-
Train your senses to recognize quality and faults in coffee.
By regularly cupping at home, you develop a more informed and enjoyable coffee experience.
What You Need for At-Home Cupping
To conduct a proper cupping session at home, gather the following essentials:
-
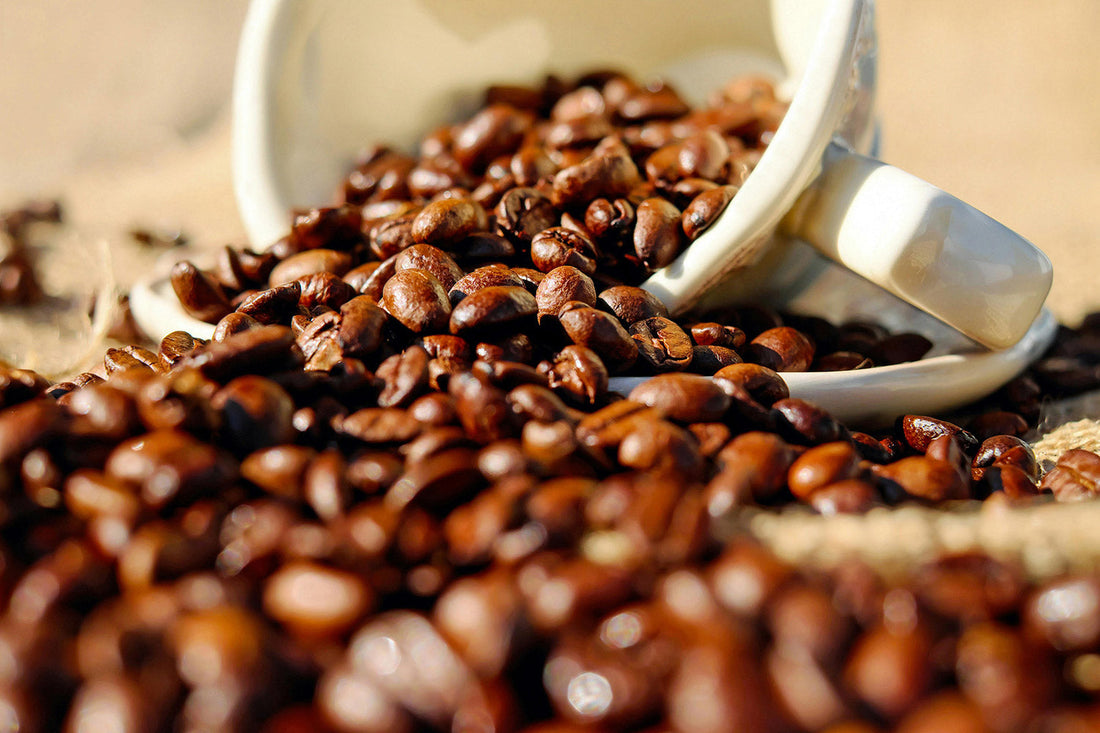
Freshly roasted coffee: Use whole beans roasted within the last 1–2 weeks. Ideally, select several distinct coffees to compare—different origins, roast levels, or processing methods.
-
Burr grinder: A consistent grind size is key. Avoid blade grinders which produce uneven grounds.
-
Scale: For precise measurement of coffee dose and water.
-
Kettle: Preferably with temperature control or a gooseneck spout for pouring accuracy.
-
Bowls or cupping cups: Wide-mouthed bowls or standard cupping cups holding about 5 to 8 ounces (150–250 ml) allow easy smelling and slurping.
-
Cupping spoons: These have a deeper bowl to scoop coffee easily for tasting. If unavailable, use deep soup spoons.
-
Timer: To keep track of steep and tasting times precisely.
-
Hot water: Heated to between 195 and 205°F (90–96°C) for optimal extraction.
Preparing for Your Cupping Session
Set yourself up for a focused and productive tasting experience with these steps:
-
Choose a quiet, well-lit space free from distracting aromas like cooking smells, perfumes, or cleaning products that could interfere with your sensory perception.
-
Grind your coffee fresh just before brewing. Aim for a medium-coarse grind, roughly the size of raw sugar crystals. This allows proper extraction and easy tasting.
-
Measure precisely: Use about 8.25 grams of coffee per 150 ml (5 oz) of water for each sample. This is the industry standard ratio to highlight flavor clarity.
-
Heat your water to just off-boil, targeting 195–205°F (90–96°C). Let boiling water rest briefly if needed to reach the right temperature.
-
Arrange your cups neatly on a tray or table—one for each coffee sample. If you want to test consistency, prepare duplicate cups for each sample.
-
Optional but helpful: Have a printed or drawn coffee tasting wheel on hand. These wheels provide a structured vocabulary for identifying aromas and flavors, helping you articulate what you taste and smell.
The Cupping Process: Step-by-Step
1. Smell the dry grounds
Begin by taking a deep, careful sniff of the freshly ground coffee in each bowl before adding water. This is known as assessing the dry aroma or “dry fragrance.” Pay close attention to the scents that come forward—do you detect nutty, fruity, floral, earthy, or spicy notes? These initial impressions set the stage for what you might expect in the cup. Jot down your observations to compare later with the brewed flavors.
2. Add hot water
Slowly and evenly pour hot water (195–205°F / 90–96°C) over the grounds, saturating them completely. Use a steady, controlled pour to cover the coffee evenly. Start your timer as soon as you add the water. The grounds will swell and a thick crust of coffee grounds and oils will form on the surface—this crust helps trap the coffee’s aromatic compounds.
3. Smell the wet aroma (crust)
After approximately 3 to 4 minutes of steeping, lean in close and gently break the crust with a spoon. As you break it, aromas trapped beneath are released in a strong burst. Take several deep sniffs to fully experience the wet aroma or “break aroma,” which is often richer and more complex than the dry fragrance. This stage gives you clues about the coffee’s character—whether it’s bright, sweet, savory, or herbal.
4. Skim and clean the cup
Once you’ve taken in the wet aroma, use your spoon to carefully skim away the remaining coffee grounds and any foam from the surface of the brew. This step clears the cup so you can taste without interference from floating solids, ensuring a clean sip.
5. Taste (slurp!)
Allow the coffee to cool slightly, generally 5 to 10 minutes after pouring, until it reaches a temperature comfortable enough to sip but still warm. Using your spoon, take a generous amount of coffee and slurp it into your mouth with some force. The slurping action aerates the coffee and spreads it evenly across your palate, helping your taste buds detect subtle flavors and textures. Pay attention to sweetness, acidity, bitterness, and body as you taste.
6. Evaluate the coffee
After tasting, focus your evaluation on several key attributes:
-
Acidity: Does the coffee have a bright, lively acidity like citrus or berry? Or is it mellow and smooth?
-
Body: How does the coffee feel in your mouth? Is it light and tea-like, medium, or heavy and creamy?
-
Sweetness: Is there a noticeable sweetness—perhaps sugary, syrupy, honeyed, or caramel-like?
-
Aftertaste: What flavors linger after swallowing? Are they pleasant, long-lasting, or short?
-
Balance: Consider how well all these elements—acidity, body, sweetness, and aftertaste—work together. Is the coffee harmonious, or does one aspect overpower the others?
Throughout this process, take notes on your perceptions. Over time, practicing cupping will sharpen your sensory skills and help you recognize the unique qualities that differentiate coffees from various origins, roast levels, and processing methods.
Tips for Tasting Like a Pro
Taste with intention
Approach each coffee sample mindfully and with focus. Avoid rushing through your tasting. Take small pauses between each sample to rest and reset your palate. This pause helps prevent flavor fatigue and allows you to better distinguish the unique characteristics of each coffee without overlap or confusion.
Cup multiple coffees side-by-side for comparison
Sampling several coffees at once sharpens your sensory perception by highlighting contrasts and similarities. When you taste coffees side-by-side, you become more aware of subtle nuances like differences in acidity, sweetness, body, and aroma that might be missed when tasting a single coffee alone. This comparative approach trains your palate and deepens your appreciation.
Keep detailed notes
Write down your impressions for every coffee you cup. Describe what you smell and taste as clearly as you can, even if you’re unsure of the precise terminology. Over time, maintaining these notes helps build your flavor vocabulary and memory, allowing you to recognize and recall flavor profiles with greater confidence. Consider noting aroma, acidity, sweetness, body, aftertaste, and overall balance.
Use the Specialty Coffee Association (SCA) flavor wheel as a guide
The SCA flavor wheel is an invaluable resource that categorizes and names common coffee flavors and aromas, from fruity and floral to nutty and spicy. Refer to it during your cupping sessions to help identify flavors you detect. Don’t worry if you don’t get the terms exactly right at first—the goal is to build familiarity and learn how to articulate what you experience.
Practice slurping
Slurping coffee might feel awkward or strange initially, but it is essential for fully engaging your taste buds. Slurping introduces air into the coffee, spreading the liquid evenly across your palate and enhancing flavor perception. With practice, it becomes second nature and dramatically improves your ability to detect subtle notes and nuances.
By incorporating these techniques into your cupping routine, you’ll sharpen your sensory skills, deepen your understanding of coffee, and elevate your overall tasting experience.
Common Coffee Flavor Notes to Look For
|
Category |
Example Notes |
|
Fruity |
Berry, citrus, stone fruit, apple |
|
Floral |
Jasmine, rose, chamomile |
|
Nutty/Chocolatey |
Almond, hazelnut, dark chocolate |
|
Spicy/Savory |
Cinnamon, clove, tobacco |
|
Sweet |
Caramel, honey, molasses |
|
Other |
Earthy, woody, herbal |
Cupping at Home vs. Café/Professional Lab
Equipment
At home, you’ll use basic kitchen tools like standard bowls, spoons, a kettle, and a timer—tools that are easily accessible and affordable. In contrast, professional labs use specialized cupping bowls designed for optimal aroma release, calibrated cupping spoons for consistent tasting, and precise brewing equipment to ensure repeatability.
Water Control
Home setups rely on regular kettles and timers to control water temperature and brew times, which can lead to some variation. Professional labs use temperature-controlled pour-over kettles and sometimes even automated water delivery systems to maintain exact water temperature and flow rate for each sample.
Consistency
Consistency can vary widely at home depending on equipment and experience, whereas professional cupping labs follow strict standardized protocols set by organizations like the Specialty Coffee Association (SCA). This ensures every sample is evaluated under near-identical conditions, providing reliable comparisons.
Environment
Professional labs offer controlled environments free from distracting aromas or noise, while home cuppers might need to find a quiet, well-ventilated spot to minimize interference.
Experience Level
Professional cuppers undergo training to develop their sensory skills and use scoring forms to evaluate every aspect of the coffee systematically. At home, cupping is more informal but just as valuable for developing your palate and discovering personal preferences.
Tip: Don’t worry about achieving professional-level precision right away. Even simple home cupping sessions can provide rich insights and make your coffee enjoyment far more rewarding. The key is consistency in your process and paying close attention to what you taste.
FAQs
Do I need special cupping spoons?
No, you don’t strictly need specialized cupping spoons to taste coffee effectively. Any large, deep spoon that can hold enough liquid for a good sip will work just fine. However, dedicated cupping spoons are designed with a slightly wider, flatter bowl and a longer handle, which helps with the traditional slurping technique used in cupping. These spoons make it easier to pick up the right amount of coffee and to slurp effectively, which spreads the coffee across your palate and enhances flavor detection. If you plan to cup frequently or want a more authentic experience, investing in cupping spoons is worthwhile, but for casual cupping, your everyday spoon will do.
How fresh should the coffee be?
For the best cupping experience, aim to use coffee that was roasted within the last 7 to 14 days. Freshly roasted coffee retains the most volatile aromatic compounds and subtle flavors that can degrade over time. Beyond two weeks, coffee tends to lose brightness and complexity, which makes it harder to accurately assess its character. Ideally, buy small batches of freshly roasted coffee from reputable roasters, and grind it just before your cupping session to maximize freshness.
Can I cup decaffeinated coffee?
Absolutely! Decaf coffees can offer a surprisingly wide range of flavors and complexities just like their caffeinated counterparts. While the decaffeination process may slightly alter some characteristics, many specialty decafs maintain distinct profiles with floral, fruity, or nutty notes. Cupping decaf is a great way to explore options for those who avoid caffeine but still appreciate great coffee. It can also help you compare how decaffeination affects flavor and mouthfeel.
Do I need to slurp during cupping?
Yes, slurping is an essential part of the coffee cupping process. Although it might feel unusual or even uncomfortable at first, slurping helps mix the coffee with air as it hits your palate, spreading it evenly across your taste buds. This allows you to better perceive the coffee’s full range of flavors, acidity, and mouthfeel. The aeration from slurping also helps highlight subtle nuances that sipping normally wouldn’t reveal. With a little practice, slurping becomes natural and will significantly improve your ability to evaluate coffee like a pro.
How many coffees should I cup at once?
It’s best to cup between 3 and 6 coffees in one session. This range lets you compare different coffees side-by-side without overwhelming your palate. Too many samples at once can cause flavor fatigue, making it harder to distinguish subtle differences. If you want to cup more, break them into multiple sessions with palate cleansers like water or plain crackers in between.
What if I don’t have a scale—can I still cup?
While using a scale ensures consistent coffee-to-water ratios and more reliable results, you can cup without one by measuring with standard kitchen spoons or scoops. Just be sure to use the same spoon each time and measure carefully. For best accuracy and to develop a precise palate, investing in a small kitchen scale is recommended.
Should I take notes during cupping?
Yes! Taking detailed notes helps you remember what you liked or disliked about each coffee. Write down aroma, acidity, body, flavor notes, and aftertaste. Over time, you’ll build a vocabulary that improves your tasting skills and helps you identify preferences more clearly. Many enthusiasts use cupping forms or apps that guide you through this process.
Can I use flavored coffee for cupping?
Flavored coffees (those with added oils, spices, or extracts) are not ideal for cupping because the added flavors mask the coffee’s natural characteristics. Cupping is meant to evaluate the inherent qualities of the bean, so stick to unflavored, single-origin, or freshly roasted blends for the best experience.
How often should I cup coffee?
Regular cupping—weekly or monthly—is a great habit for anyone serious about coffee. It sharpens your palate, helps you stay informed about new beans, and keeps your tasting skills honed. Even casual coffee drinkers benefit from occasional cupping sessions to better appreciate what they’re drinking.
Final Thoughts: Taste Like a Pro, Anywhere
Cupping coffee at home is an incredibly rewarding way to deepen your appreciation and understanding of this beloved beverage. With just a handful of simple tools and a bit of practice, you can unlock the subtle complexities and unique characteristics hidden in every bean. Whether you’re exploring coffees from different regions, roast levels, or processing methods, cupping helps you develop a sharper palate and a richer vocabulary to describe what you’re tasting. Over time, this mindful practice transforms everyday coffee drinking into a thoughtful sensory experience, empowering you to make better purchasing choices and brew with greater confidence. No matter where you are, cupping brings the expertise of a professional coffee taster right into your kitchen, inviting you to savor every sip with newfound clarity and joy.


