The Stages of Pour Over Coffee
The preparation of pour over coffee has experienced a real renaissance in recent years. Some of this might be attributed to the rise of Third Wave Coffee – the growing emphasis on single-origin cups of coffee, as well as the increased awareness of the complexity of flavor found within a bean. Pour over-brewed coffee is an excellent way to experience the diversity of flavor profiles found in a variety of beans and roasts. The following is a guide to the different stages of the pour over brewing process.
Stage One: Beans and the Grind
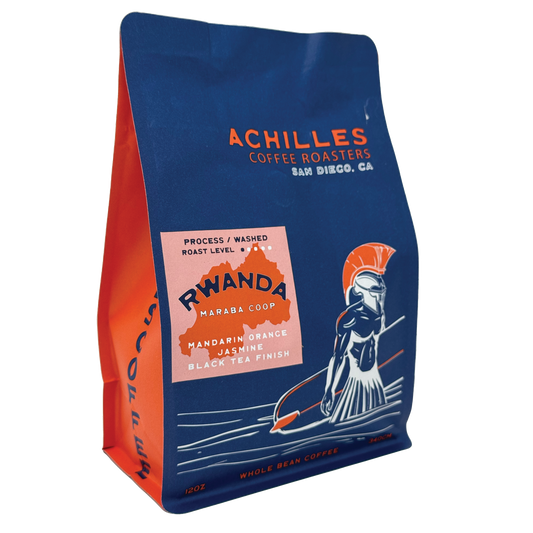
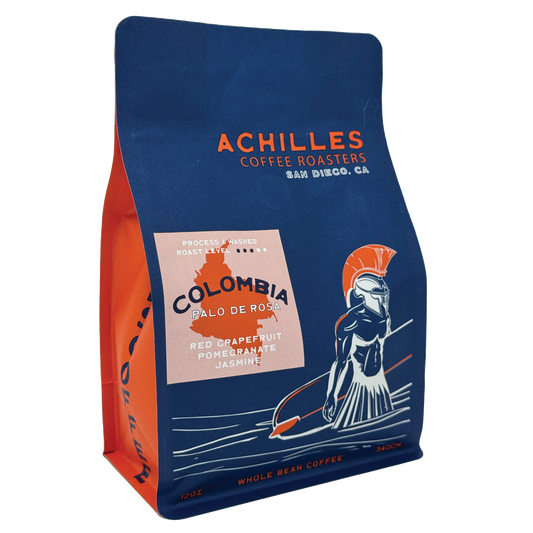
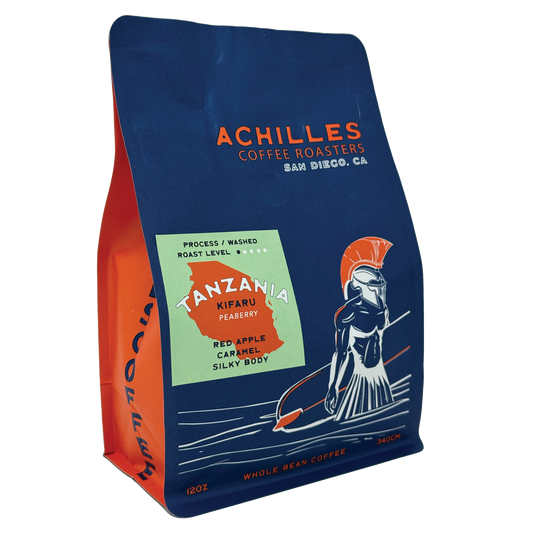
To begin your pour over coffee, you’ll need to be equipped with the necessary supplies. First, you’re going to need fresh roasted beans. Since pour over is a great way to experience the flavors found in the bean and its roast, you’ll want to buy coffee roasted within a week or two from a local roaster. Why spend the time on the pour over if the bean isn’t worthy of the investment? You will find most Third-Wave coffee shops that do their own roasting sell beans in increments of 8, 12 and/or 14oz.
You want to grind your coffee immediately before you brew – the fresher, the better. The coarseness of the grind is very important. If you are making a 12oz. cup of coffee you want the complete pour to take about 3 minutes. Too course and your cup will finish pouring within a minute, too fine and you will be staring at your cup of coffee for 5 minutes before it is ready. Make sure you measure out the amount of whole beans before you – usually, between 23 and 27 grams of coffee per 12 oz. of water is a good rule of thumb.
Stage Two: Water Temperature and the Kettle
One important piece of equipment that is often overlooked by at-home brewers is a kettle that makes pouring easy. Purchase either a conventional kettle or an electric kettle with a gooseneck, not a spout. When you pour the water over the beans, you’ll want a lot of control over the amount of water in the pour and where you pour it. A traditional spout just won’t afford you that control, and you’ll end up with a subpar cup of coffee. An electric kettle is convenient because you can monitor the temperature of your water – ideally around 204 degrees Fahrenheit.
Before you place the coffee in the filter, wet the filter with hot water by pouring just enough to saturate the paper. This will help you prevent the paper taste of the filter from detracting from the coffee flavors.
Stage Three: The Initial Pour – Saturating the Coffee Grounds
For the initial pour, you want to pour between 60 and 75 grams of water over your coffee. Saturate the entire surface of the grounds, and watch as the coffee bubbles and moves – this is called the “bloom,” when carbon dioxide is released from the grounds as the coffee begins to be extracted from the beans.
 Stage Four: Continuing the Pour
After the coffee has bloomed, but before the bloom has collapsed, pour another hundred grams of water into the grinds. Pour slowly, in a spiral motion, moving from the center of the grinds to the outside, and back. Watch carefully while you’re doing this – you want to make sure that all of the grounds are saturated. It might take you a couple tries to really perfect your timing on this, but no worries! Brewing a good cup of coffee takes practice, just like anything else.
Stage Four: The Finished Cup
Just one more pour to go! Once your second pour has almost drained, go ahead and carefully pour once more – again, a spiral pattern is optimal. Pour until you’ve reached around 350 grams (12oz.) total for your cup of coffee, and wait until it has completely drained. Take a few sips before adding any cream or sugar and start to familiarize yourself with the unique flavors of each cup and enjoy one of the purest forms of coffee preparation, pour over coffee.


